Bootstrapアコーディオンを設置しよう

前回使ったアコーディオン「Flush」の仕様は、
デフォルトでは閉じられていて、クリックすると開き、再度クリックすると閉じる仕様でしたね。
今回は、「Always open」を作っていきます。
*-*-* Chapter45 *-*-*

SAKUWEB さくうぇぶ
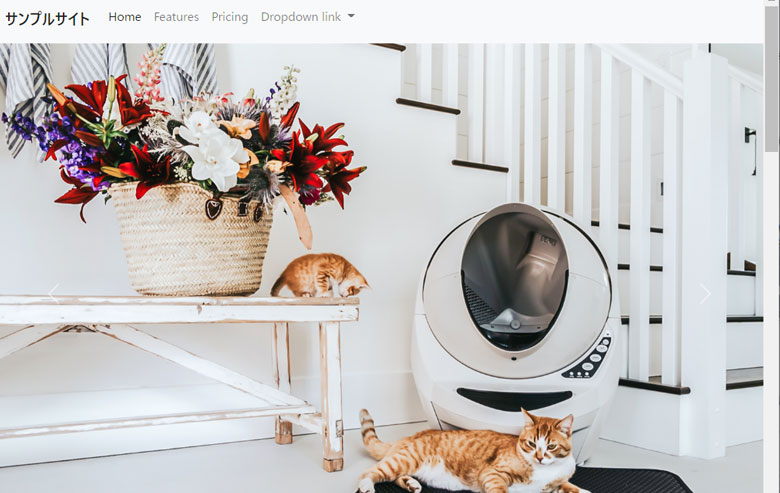
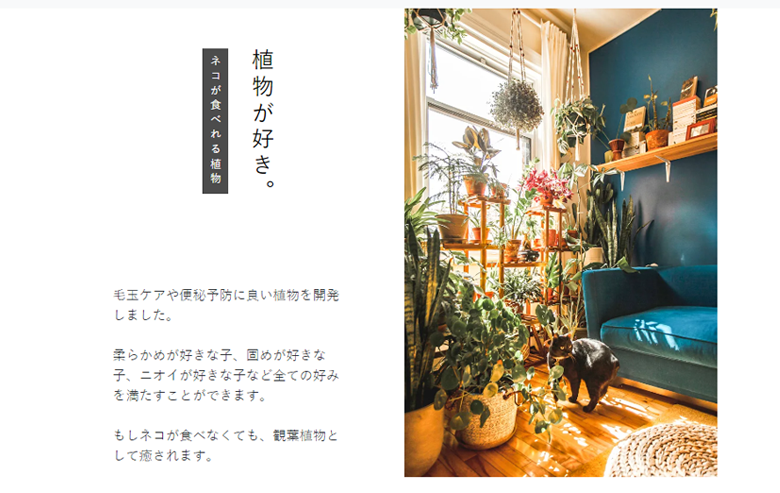
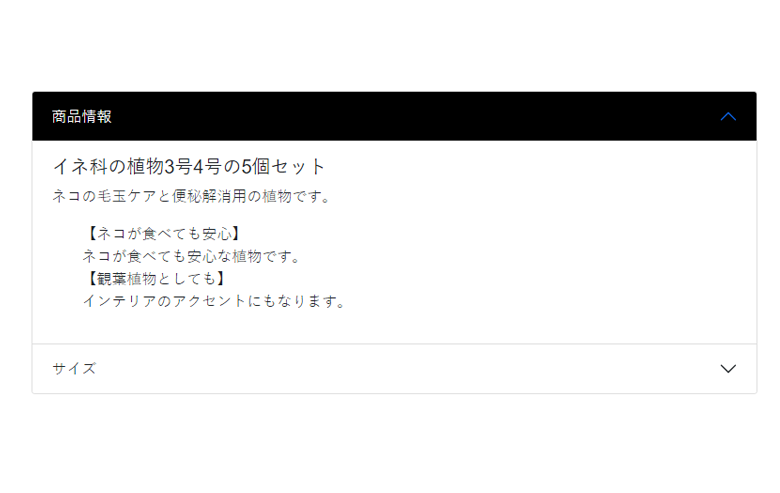
今回作るパーツは「植物が好き」のリンク先コンテンツです。

SAKUWEB さくうぇぶ
このアコーディオンは、前回つくったものと大分違いますね。
前回はデフォルトではテキストパーツが表示されていませんでした。
今回作るのは、1つだけデフォルトで開いておいて、残りは閉めておく仕様です。
Components→Accordion→Always open
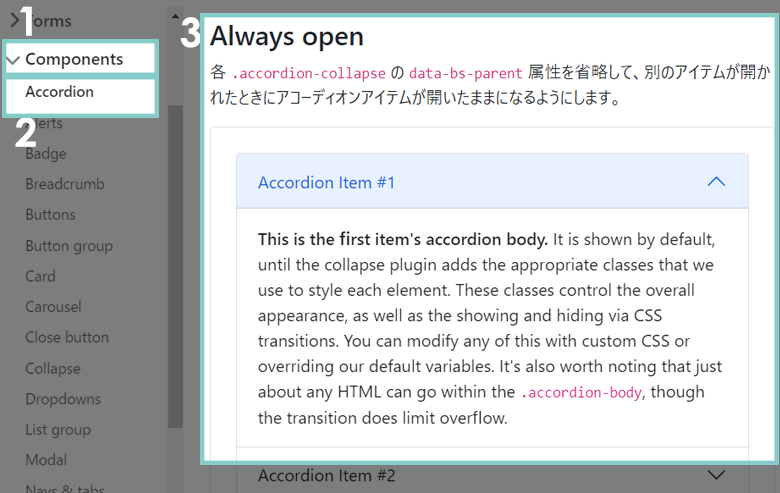
仕組みを確認するために、
「Accordion Item #2」をクリックしてみましょう。
「Flush」では、開いているタブは閉じましたが、
「always open」では、「#1」が開いたまま「#2」も開きます。
閉じるには再度「Accordion Item #2」をクリックします。
それではコードを見ていきましょう。
<div class="accordion" id="accordionPanelsStayOpenExample">
  <div class="accordion-item">
    <h2 class="accordion-header" id="panelsStayOpen-headingOne">
      <button class="accordion-button" type="button" data-bs-toggle="collapse" data-bs-target="#panelsStayOpen-collapseOne" aria-expanded="true" aria-controls="panelsStayOpen-collapseOne">
        Accordion Item #1
      </button>
    </h2>
    <div id="panelsStayOpen-collapseOne" class="accordion-collapse collapse show" aria-labelledby="panelsStayOpen-headingOne">
      <div class="accordion-body">
        <strong>This is the first item's accordion body.</strong> It is shown by default, until the collapse plugin adds the appropriate classes that we use to style each element. These classes control the overall appearance, as well as the showing and hiding via CSS transitions. You can modify any of this with custom CSS or overriding our default variables. It's also worth noting that just about any HTML can go within the <code>.accordion-body</code>, though the transition does limit overflow.
      </div>
    </div>
  </div>
  <div class="accordion-item">
    <h2 class="accordion-header" id="panelsStayOpen-headingTwo">
      <button class="accordion-button collapsed" type="button" data-bs-toggle="collapse" data-bs-target="#panelsStayOpen-collapseTwo" aria-expanded="false" aria-controls="panelsStayOpen-collapseTwo">
        Accordion Item #2
      </button>
    </h2>
    <div id="panelsStayOpen-collapseTwo" class="accordion-collapse collapse" aria-labelledby="panelsStayOpen-headingTwo">
      <div class="accordion-body">
        <strong>This is the second item's accordion body.</strong> It is hidden by default, until the collapse plugin adds the appropriate classes that we use to style each element. These classes control the overall appearance, as well as the showing and hiding via CSS transitions. You can modify any of this with custom CSS or overriding our default variables. It's also worth noting that just about any HTML can go within the <code>.accordion-body</code>, though the transition does limit overflow.
      </div>
    </div>
  </div>
  <div class="accordion-item">
    <h2 class="accordion-header" id="panelsStayOpen-headingThree">
      <button class="accordion-button collapsed" type="button" data-bs-toggle="collapse" data-bs-target="#panelsStayOpen-collapseThree" aria-expanded="false" aria-controls="panelsStayOpen-collapseThree">
        Accordion Item #3
      </button>
    </h2>
    <div id="panelsStayOpen-collapseThree" class="accordion-collapse collapse" aria-labelledby="panelsStayOpen-headingThree">
      <div class="accordion-body">
        <strong>This is the third item's accordion body.</strong> It is hidden by default, until the collapse plugin adds the appropriate classes that we use to style each element. These classes control the overall appearance, as well as the showing and hiding via CSS transitions. You can modify any of this with custom CSS or overriding our default variables. It's also worth noting that just about any HTML can go within the <code>.accordion-body</code>, though the transition does limit overflow.
      </div>
    </div>
  </div>
</div>
前回は全てのバーが閉じていましたね。
今回は最初のバーだけが開いています。
開閉を制御するのは「aria-expanded属性」でしたね。
「Accordion Item #1」のbuttonだけ、「aria-expanded属性」の値が「true」、つまり開くという指示になります。
サンプルコードをコピペしてください。
前回同様、id名とかやたらと長いので、短く分かりやすくしていきましょう。
アコーディオンの関連付けをしてみよう
以下の手順で、関連付けの作業をやってみましょう。
「商品情報」の部分
1)h2タグのid属性を「prod」に変更し、
テキストパーツの最初のdivタグの「aria-labelledby属性」も「prod」に変更して関連付けする
2)buttonタグの「data-bs-target」を「#prod05」に変更し、
テキストパーツの最初のdivタグの「id属性」も「prod05」に変更して関連付ける
3)buttonタグの「aria-controls属性」を「prod05」に変更し、
テキストパーツの最初のdivタグの「id属性」と関連付ける
「テキスト」の部分
5)「商品情報」の1・2・3番の「prod」を「size」に変えて作る
それではコードを
<div class="accordion">
  <div class="accordion-item">
    <h2 id="prod" class="accordion-header">
      <button data-bs-target="#prod05" aria-controls="prod05" class="accordion-button" type="button" data-bs-toggle="collapse" aria-expanded="true">商品情報</button>
    </h2>
    <div id="prod05" aria-labelledby="prod" class="accordion-collapse collapse show">
      <div class="accordion-body">
      <h3 class="h5">イネ科の植物3号4号の5個セット</h3>
      <p>ネコの毛玉ケアと便秘解消用の植物です。</p>

      <ul>
        <li>【ネコが食べても安心】<br>ネコが食べても安心な植物です。</li>
        <li>【観葉植物としても】<br>インテリアのアクセントにもなります。</li>

      </ul>
      </div>
    </div>
  </div>
  <div class="accordion-item">
    <h2 id="size" class="accordion-header">
      <button data-bs-target="#size05" aria-controls="size05" class="accordion-button collapsed" type="button" data-bs-toggle="collapse" aria-expanded="false">サイズ</button>
    </h2>
    <div id="size05" aria-labelledby="size04" class="accordion-collapse collapse">
      <div class="accordion-body">
       <h3 class="h5">サイズ</h3>
      <ul>
        <li>【4号植物】鉢底より約15~40cm</li>
        <li>【3号植物】鉢底より約10~15cm</li>
        <li>【ブランド】SakuWeb</li>
      </ul>
      </div>
    </div>
  </div>
</div>
これでアコーディオンの「Always open」の設置が完了しました。
Bootstrapのアコーディオンにももう一つ違う仕様が用意されていますので、
見ていきましょう。
Components→Accordion→Example
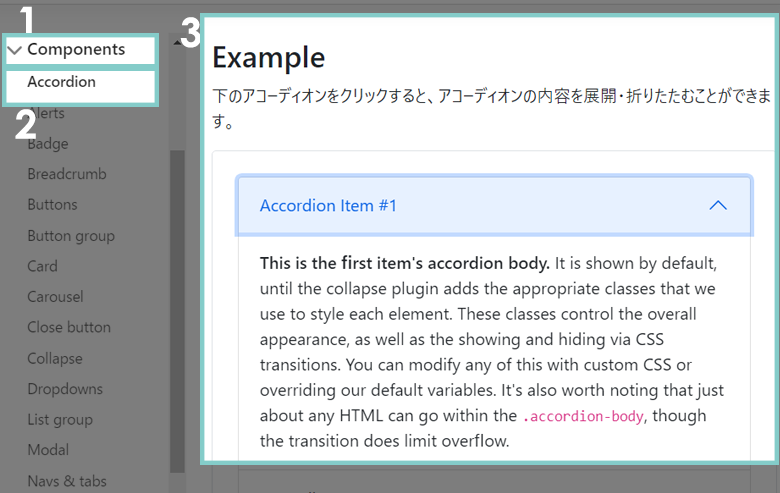
仕組みを確認するために、
デフォルトでは「Accordion Item #1」が開いていて、
他は閉じています。
ここまでは「Always open」と同じ仕様です。
では、「Accordion Item #2」をクリックしてみましょう。
この場合の動きは「Flush」と同じで、
開いているバー「Accordion Item #1」が閉じて、
「Accordion Item #2」が開きます。
再度「Accordion Item #2」をクリックすれば、全てが閉じます。
ユーザーに対しての見え方も考えながら、それぞれ用途別に使い分けすることができますね。
このパーツはこれで完成です。
最後のパーツを仕上げていきましょう。
サンプルサイトです。

このページの最後のパーツです。
今まで学んだことを思い出しながら、ご自身でコーディングしてみてください。
フル幅+縦書きテキストを作る
手助けが必要な方は、以下の手順でやってみましょう。
1)フル幅のコンテナを作る
2)カラムに個別のクラスを付与する
サンプルサイトでは「room-end」
3)「ネコと快適に暮らすため」「考えぬかれたインテリアを選ぼう」を作り、
縦書きのクラスを付与する
4)cssで背景画像を設置
5)「ネコと快適に暮らすため」「考えぬかれたインテリアを選ぼう」の背景色を半透明ではなく、不透明の黒にする
それではコードです。
<div class="container-fluid my-5">
  <div class="row">
    <div class="room-end">
      <div class="writing-v ms-4"><span>ネコと快適に暮らすため</span><span>考えぬかれたインテリアを選ぼう</span></div>
    </div>
  </div>
</div>
.room-end {
background: url(../img/room03.webp) no-repeat top 50px center / cover;
padding-bottom: 8rem;
}
.room-end .writing-v span{
display: table;
padding: 1rem .1rem;
margin: 1rem;
line-height: 2.5rem;
background:black;
}
.room-end .writing-v{
background: none;
}
これで「CatRoom」ページが完成となります。
今回もたくさんのことを学びましたが、
何度も繰り返すことで、身体で覚えることができます。
諦めずに、楽しみながら作り続けてみましょう。
デフォルトで1つ目の要素が開かれている
2つ目の要素をクリックしても、1つ目の要素は開いたままになる
デフォルトで1つ目の要素が開かれている。(Always openと同じ)
2つ目の要素をクリックすると、1つ目の要素が閉じる。(Flushと同じ)